Starting your YouTube channel can seem daunting, but editing your videos doesn’t have to be. With tools like Animotica, you can easily create amazing content on your Windows laptop, captivating your audience effortlessly.
This guide will take you through the top tools, with Animotica at the forefront, and provide step-by-step instructions for editing YouTube videos on Windows laptops. Whether you’re new to YouTube, a creator enhancing your videos, or just want to share fun moments, this is the place for you! Check out our best laptops for video editing guide to ensure you have the right setup for making awesome content.
Discover the ease and rewards of video editing today, and soon enough, your work will be inspiring viewers everywhere. For more fun tips, visit Animotica’s blog for the top YouTube to MP3 converters, ideal for turning videos into audio content.
Excited to start your video editing journey? Let’s jump in!
Contents
Top 5 Video Editors for YouTube Videos
Back in the day, video editing was a cost-intensive process, requiring high-level skills and expensive professional equipment. But all that has changed in the 21st century. You can now make pro-grade videos using inexpensive or even free tools!
So in this section, we’ll reveal some of our favorite video editors perfectly suited for YouTube videos. Let’s get into it!
Animotica

Animotica shines as a leading video editor thanks to its simplicity, cost-effectiveness, and user-friendly interface.
We’ve placed Animotica as our top choice because it has transformed the editing experience for over 5 million users worldwide and remains a top-selling app on the Microsoft Store.
With Animotica, users can enjoy features like a Green Screen, Ken Burns motion, professional color grading with 3D LUTs, dynamic light leaks, various transitions, audio editing tools, and a screen recorder.
These features make it easy to create remarkable YouTube videos.
Compared to expensive options like Filmora and Adobe Premiere, Animotica offers great value with a one-time cost of $16 for the Full Pro version or $7 for the Light version.
If you’re on a budget, Animotica’s free version provides essential tools to get your first video ready to shine!
Interested in how Animotica compares to others? Read this detailed comparison between Animotica and Filmora.
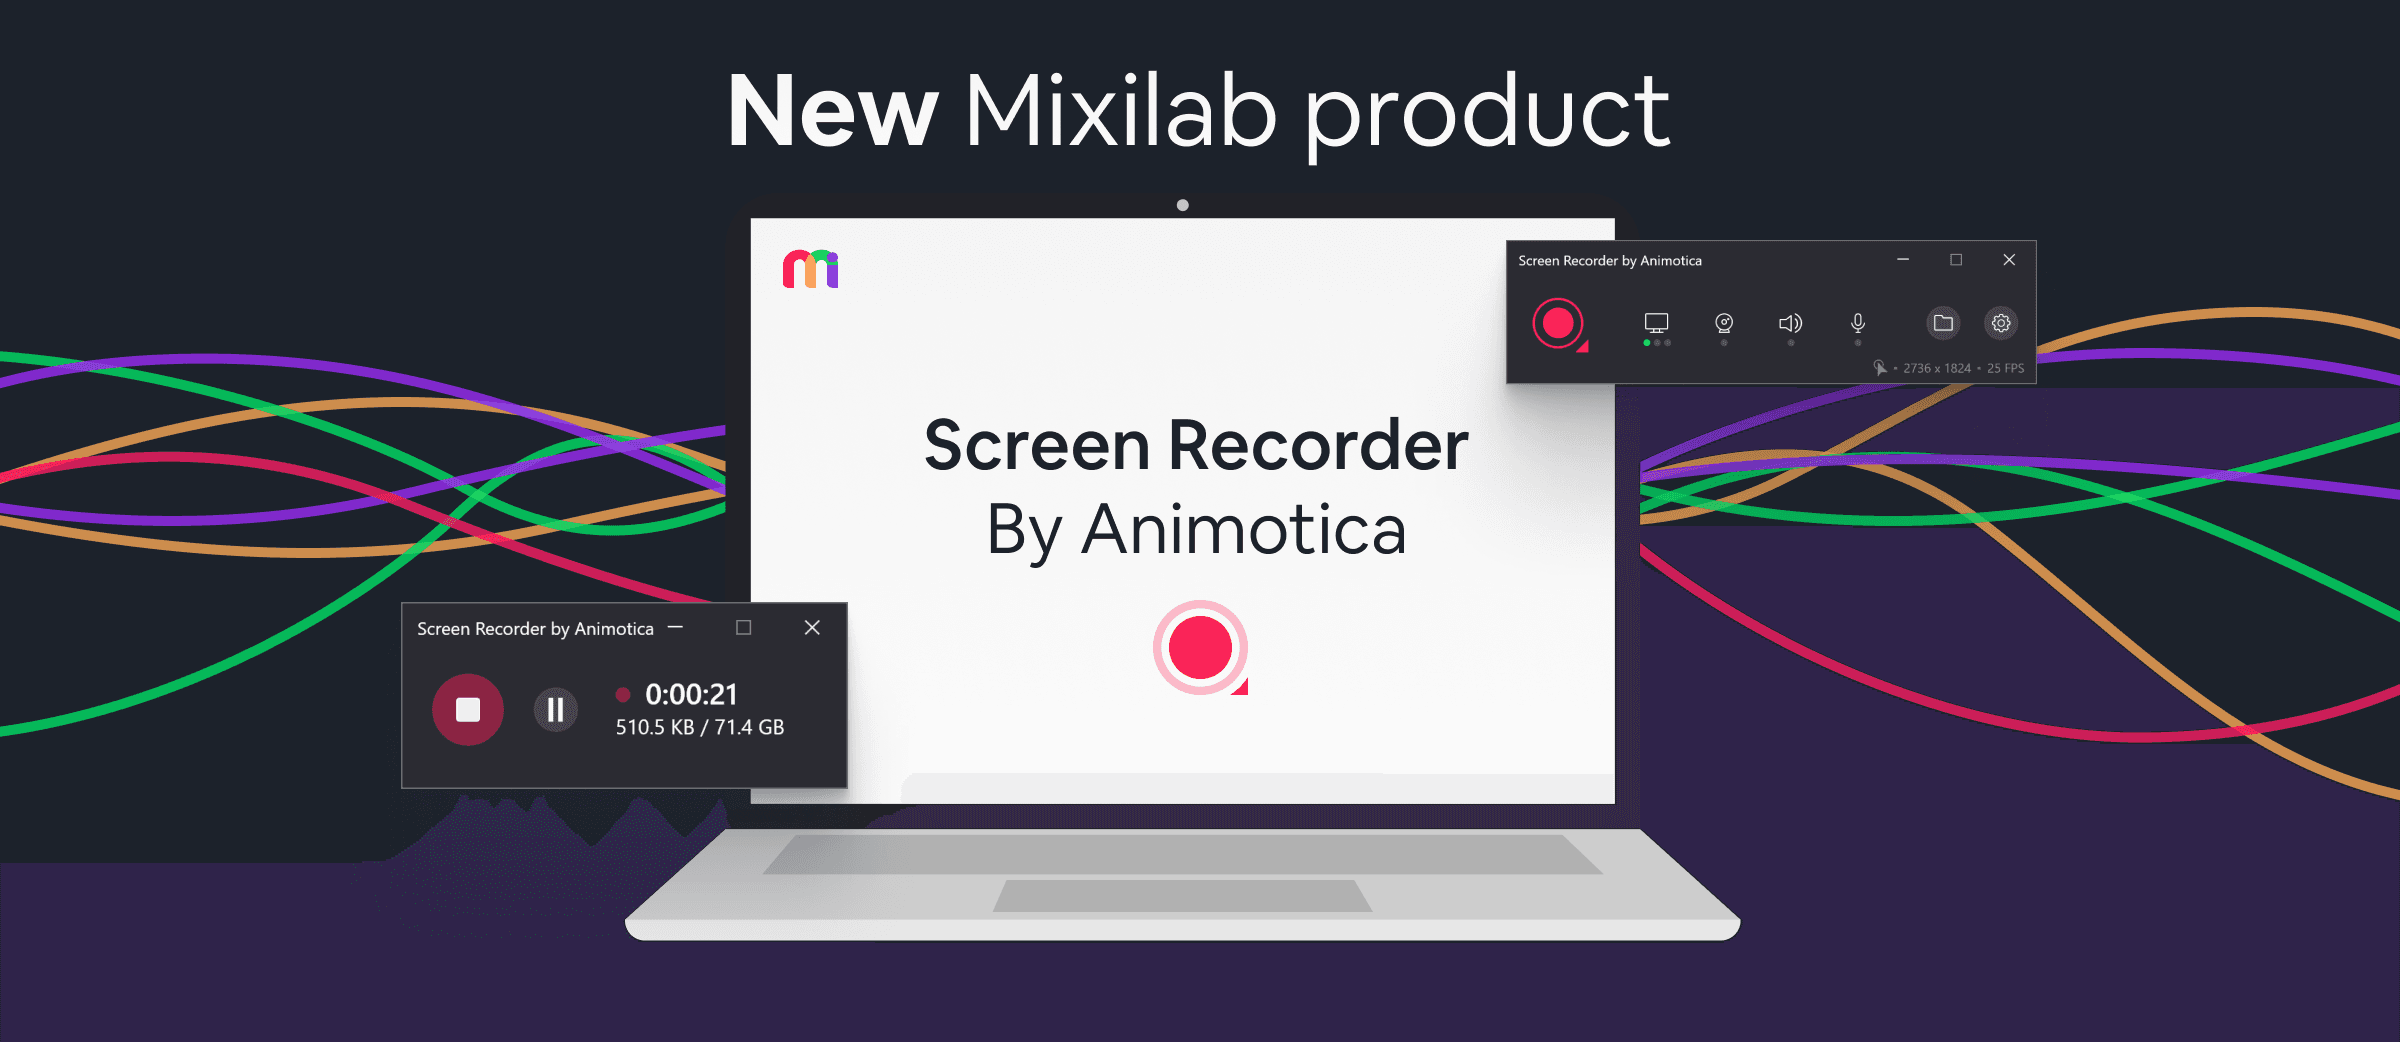
Mixilab ToolKit

Mixilab Toolkit is the perfect online editor for your videos, photos, and audio. You can use it straight from your web browser with no need for downloads or installations. It’s easy to use, with more than 10 free tools included.
Whether you need to trim, crop, rotate, flip your videos, or change video speed and record your screen, Mixilab Toolkit makes it simple. It’s designed for anyone, whether you’re making content for YouTube, working on a school project, or just editing a video for social media.
With its ability to easily extract photos from videos and record your screen, Mixilab Toolkit is not only free but also very easy to use. It’s perfect for quick and quality edits. Plus, it’s fast and lightweight, so your editing is always smooth and hassle-free.
YouTube Studio
Yes, YouTube does have an inbuilt video editor that you can use for free. You can access it by clicking your profile and selecting YouTube Studio from the side panel.

The editor allows you to do simple tasks such as trimming, splitting, and blurring elements in the background (car plate numbers, people, etc.). But that’s all you can do with it.
The editor doesn’t have any advanced features. Thus, if you’d like to do more technically advanced tweaks on your videos, you’d certainly need to use an external video editor.
Adobe Premiere Pro

Adobe Premiere Pro is, without a doubt, the most popular video editor on the planet at the moment.
It is used by video editing experts at all levels, from top-rated movie producers to regular YouTube content creators. It has all the video editing features you can think of, establishing itself as a giant in the industry.
But there’s a catch: Premiere Pro is relatively expensive, costing around $20 per month. Also, with its myriad of features, the software targets experienced post-production professionals. Thus, beginners will find its interface quite intimidating.
Filmora Wondershare

Filmora Wondershare is an impressive video editor that offers a wide range of features.
A few things to take note of, however, is how clustered its interface is. As a beginner, you might take some time to understand how to navigate the editor.
Filmora also runs on a subscription model, charging around $40 per year. If you want to get it at a one-time fee, Filmora goes for $70.
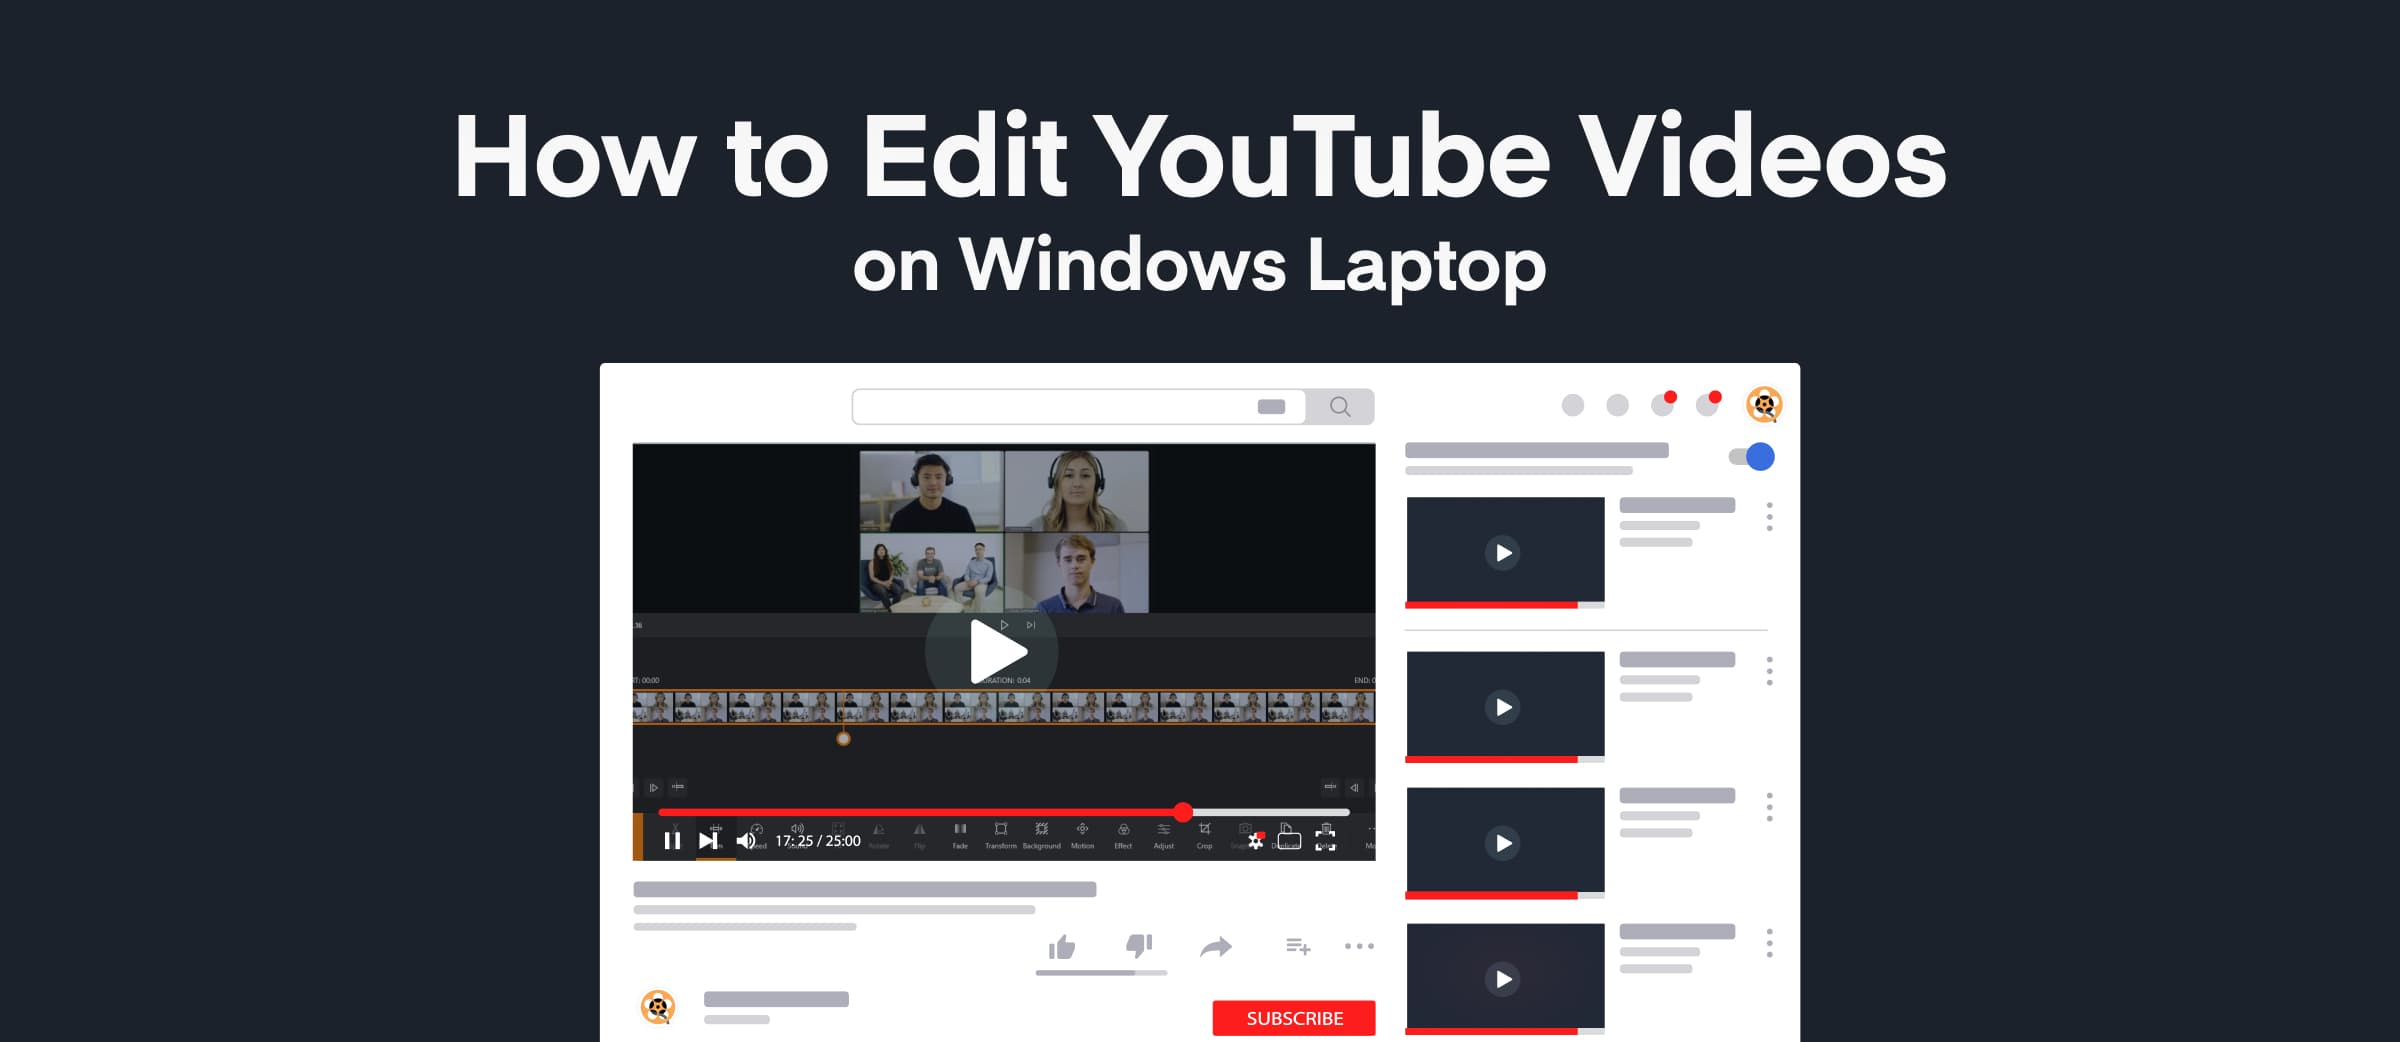
How to Edit YouTube Videos on Your Windows PC
Editing your YouTube videos isn’t hard! With the right tools, you can make the process smooth and fun. In this guide, we’ll show you how to use Animotica, making video editing simple and enjoyable.
Animotica is great for beginners and intermediates, combining ease of use with strong features. Click the button below to download Animotica for free and start editing today!

Ready to get started? Let’s see how you can turn your videos into exciting YouTube content easily!
Step 1: Create a New Project
Ready to start editing your YouTube videos? Open Animotica and select New Project. This brings you to the project window, where you can begin creating. Here, you can start shaping your content and making your ideas come true.

Step 2: Upload Your Video Clips
Click on Add Video/Photo Clips to start your project. This opens a menu where you can pick Video or Photo Clips. Find the video files on your computer that you want to use.

Want to add multiple files? Hold the CTRL key and click each clip you want to include. This makes selecting several clips simple.
Note: If you see a message about “preparing proxy files,” don’t worry! These files help your computer edit high-resolution videos more smoothly. Learn more about proxy video editing here.

Step 3: Set your Aspect Ratio
When editing videos for YouTube, it’s crucial to use the recommended aspect ratio of 16:9 to ensure your content looks spectacular on all devices.
In Animotica, setting the aspect ratio is a breeze. Simply click on the Aspect Ratio icon, and you’ll find the 16:9 (Widescreen) option conveniently preselected for you. This intuitive feature makes it easy to maintain consistency and professional quality in your YouTube creations.

Step 4: Edit Your Video
Now that you’ve uploaded your video clips to your project, it’s time to add a touch of magic and polish them up for ultimate effect. With Animotica’s versatile editing tools, you can transform your footage into a sleek and engaging YouTube video. Here’s how to make your content stand out:
Trim Your Video
Trimming helps you remove those “uhs” and “ahs” or any unwanted parts from your video. Think of it as giving your content a fresh haircut.
To trim, move your time slider to the exact spot where you want to keep or discard sections. Click on the video clip to open the editing menu, then select Trim. Choose from Trim from Start, Trim from End, or the versatile Trim Slider.

When you use Trim from Start, sections before the time slider vanish like magic.

With Trim from End, it’s the frames after the slider that disappear.

If you select Trim Slider, you will be able to trim both ends of the clip simultaneously.

Split Your Video
Want to break your video into bite-sized pieces? Splitting is the answer. Move the time slider to where you’d like to split, select your clip, and hit Split.

Just like that, your clip is divided into two parts. Feel free to repeat as many times as necessary to segment your content precisely.
Here’s a tutorial on how you can get rid of unwanted parts using the trim and split tools.
Add Transitions
Transitions are the secret sauce to smooth storytelling. Tap on the line between clips to unleash Animotica’s gallery of transition effects.

Select the style that matches your theme, set your duration, and click Go Back to add a seamless flow to your video.

Add Texts/Captions
Text and captions can transform your video with engaging visuals and important information. Tap Add and select Text from the Layers & Overlays section.

Type in your message, click X, and then customize everything from font to color and alignment, making your text as unique as your content.

Here’s a more in-depth guide on how to work with animated texts in Animotica.
Other Options
There are so many things you can do with Animotica to turn your video into a masterpiece. We’ve created separate guides. You can check them out as follows:
- Green Screen
- Ken Burns
- 3D LUT Color Grading Presets
- Stickers
- Special Effects, and much more!
Just play around with the software and see what you can discover! If you make a mistake, hit CTRL+Z to undo it.
Step 5: Save and Share Your Video
Click on the Export Video button to initiate the exporting process. In the dialog that appears, choose Save As, type in a descriptive filename, and press Save to confirm.

Relax while Animotica processes your project. You’ll be ready to showcase your creation in no time!
Once the export is complete, the choice is yours: you can explore your final video, exit the app, or directly upload your masterpiece to YouTube to share with the world.

Creating Visually Striking YouTube Videos: Tips and Tricks
Whether you’re a seasoned YouTuber or just starting out, creating visually stunning videos is key to capturing your audience’s attention and keeping them engaged. A polished, professional-looking video can make all the difference in how your content is perceived. Here are some practical tips and tricks to elevate your YouTube videos to the next level:
1. Plan Your Content and Storyboard
Before diving into editing, plan your video’s structure. Use a storyboard to outline the flow of your content, including key moments, transitions, and visual elements. This helps keep your video cohesive and engaging. For more tips on planning your video scripts, check out our guide on video script writing.
2. Use Eye-Catching Intros and Outros
First impressions matter. Create dynamic intros that set the tone and hook your audience in the first 5-10 seconds. Add compelling outros with clear calls-to-action, like subscribing or watching another video.
3. Add Engaging Text and Graphics
Enhance your storytelling with on-screen text, captions, and graphics. Use these elements to emphasize key points or guide viewers through your video. Animotica makes it easy to incorporate professional text overlays and effects. Learn how in our detailed guide on adding text to videos.
Take your creativity a step further by including dynamic elements in your projects. Discover the process of adding fun stickers with our guide on adding stickers to videos on PC, or get creative with GIFs through our comprehensive tutorial on adding GIFs to videos. Additionally, learn how to captivate your audience with glitch effects by following this useful blog post on adding glitch effects.
4. Master Color Grading
Consistent and vibrant visuals help your videos stand out. Adjust your video’s brightness, contrast, and saturation to achieve the perfect look. For more detailed instructions, check out Animotica’s guide on how to brighten videos on PC. Experiment with 3D LUTs and color correction tools to create a cohesive visual style. Explore Animotica’s guide on color grading using LUTs to make your videos pop.
5. Use Transitions Wisely
Smooth transitions keep your video flowing naturally while maintaining a professional feel. Avoid overusing flashy effects—stick to subtle fades, cuts, or wipes that enhance your video without distracting the viewer. Check out Animotica’s guide to adding transitions for easy-to-follow steps.
6. Incorporate Music and Sound Effects
Audio is just as important as visuals. Add background music that complements your content, and use sound effects to highlight key moments. To get started, check out this guide on adding music to your videos. Make sure the audio levels are balanced, ensuring your voiceover or dialogue isn’t overpowered. For an array of musical options, visit these royalty-free music sites.
7. Optimize for YouTube’s Best Practices
Export your video in the correct resolution (1080p or higher) and aspect ratio (16:9) to ensure it looks great on YouTube. Use engaging thumbnails and SEO-friendly titles to attract viewers. Animotica provides pre-set YouTube export options, making it easy to get your video ready for upload.
For more detailed insights on getting your video dimensions just right, check out our YouTube Video Size Guide.
By following these tips and tricks, you’ll create YouTube videos that captivate your audience and keep them coming back for more. With user-friendly tools like Animotica, even beginners can achieve professional-quality results. Dive into more helpful tutorials and guides on Animotica’s blog and start crafting your next viral video today!
Wrapping Up: Master YouTube Video Editing on Windows in 2025
With the right tools and some guidance, anyone can create great YouTube videos on a Windows laptop in 2025. Animotica is the top choice for beginners due to its easy-to-use features and affordability. It’s also great for more experienced editors.
The secret to becoming good at video editing is to practice and try new things. Experiment with different features to see what works best for you and your audience. By making thoughtful edits and using features like transitions and text overlays, you’ll keep people interested in your videos.
Whether you’re just starting as a YouTuber, are an experienced content creator, or simply editing as a hobby, Animotica on a Windows laptop is a fantastic option. If you prefer an online tool without installation, the Mixilab ToolKit is another excellent choice. So, go ahead and download Animotica to start your creative journey and help your YouTube channel grow in 2025!
If you want to learn more, check out extra resources and video tutorials to improve your skills. Each video you make brings you closer to mastering your editing craft.
Happy editing, and here’s to making amazing YouTube videos!
FAQ on Editing YouTube Videos on Laptop
What is the best video editing software for beginners on Windows?
For beginners using Windows, Animotica is ideal with its drag-and-drop interface, perfect for easy editing. It allows you to trim clips and add transitions effortlessly.
Designed for enjoyable and efficient editing, Animotica’s user-friendly design focuses on creativity, not technicalities. It’s a budget-friendly option with features often found in pricier software.
For new content creators, Animotica helps create polished and professional-looking YouTube videos. If you’re a beginner seeking an easy and reliable tool on Windows, Animotica is a top pick.
Prefer online editing? Mixilab ToolKit offers browser-based tools, perfect for those who prefer cloud solutions without installations.
What is the best aspect ratio for exporting YouTube videos?
When exporting YouTube videos, use the 16:9 aspect ratio. It’s perfect for YouTube and makes videos look great on any device, from phones to computers. This widescreen format helps your video fill the screen without those annoying black bars on the sides.
If you’re making YouTube Shorts, switch to the 9:16 aspect ratio. This vertical format fits perfectly on mobile screens, so your video looks sharp and clear.
Keeping the same aspect ratio for your videos makes them look more professional and consistent. Animotica makes it super easy to choose the right aspect ratio when you start a new project or export your video.
Picking the right aspect ratio is key to making sure your videos look polished and meet YouTube’s guidelines and viewer