Starting your journey in video editing can feel daunting, but with the right tips and tools, you can quickly transform your raw footage into polished, engaging videos. Welcome to our beginner’s guide to video editing, where we’ll share essential tips to help you enhance your editing skills swiftly and effectively. Our goal is to turn those intimidating editing sessions into a fun, creative venture that you’ll look forward to.
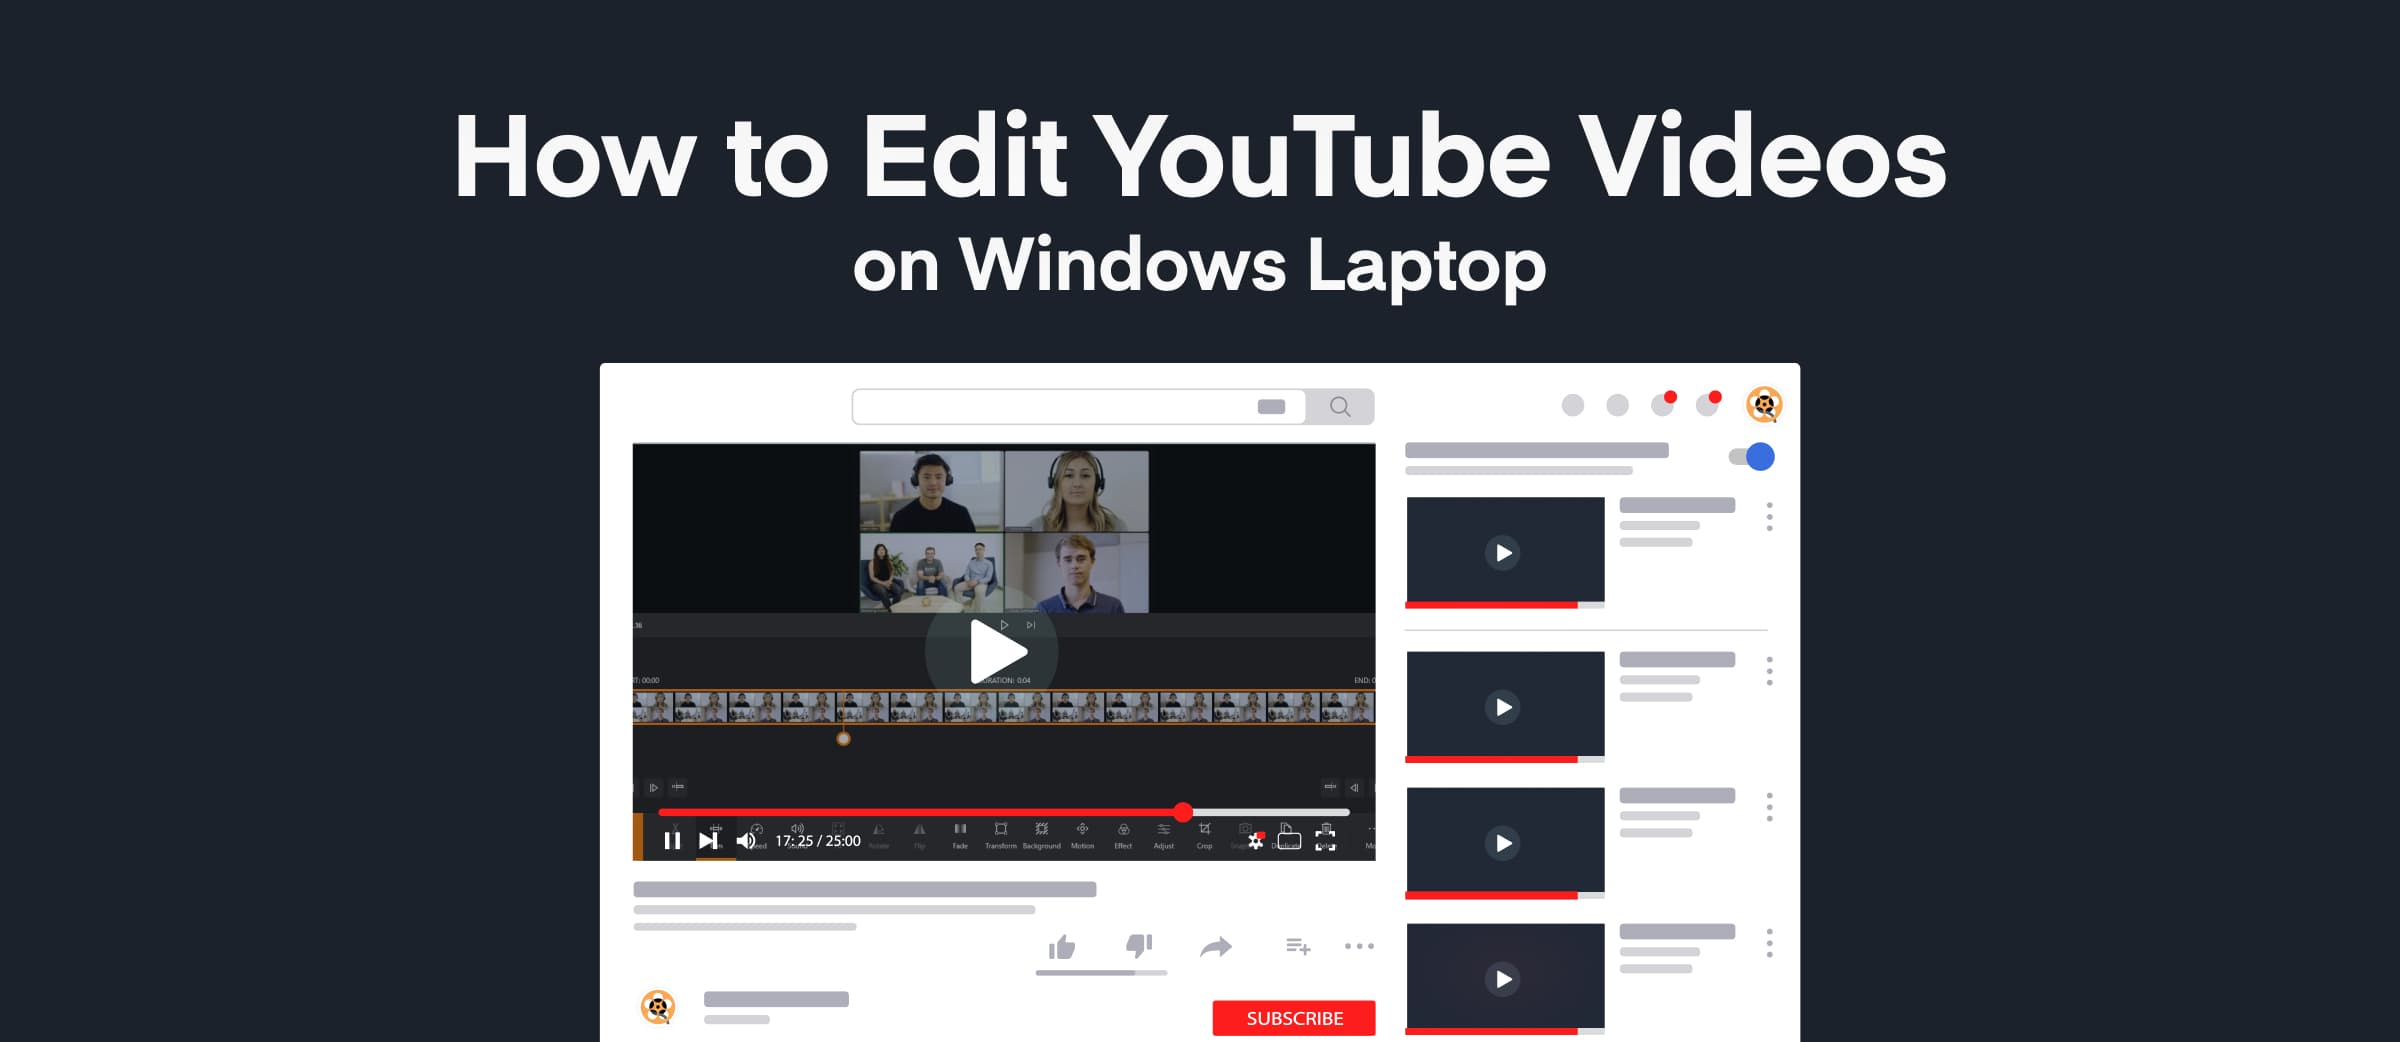
Throughout this guide, we’ll introduce you to Animotica, our go-to user-friendly video editor designed specifically for Windows users. Ready to get started? Let’s dive in!
Contents
Why is Video Editing Important?
Video editing is more than just a technical process; it allows you to turn raw footage into compelling stories. Effective video editing makes a big difference whether you’re creating content for social media, a presentation, or a short film. It can turn a collection of clips into an engaging story that grabs attention.
In today’s world, where video content is everywhere, high-quality editing is crucial to stand out. A well-edited video can highlight your message, evoke emotions, and add a professional touch. For beginners, learning the basics of video editing is the first step toward this level of polish.
Thanks to user-friendly software like Animotica, video editing is now accessible to everyone, no matter their technical skill. With easy-to-use tools and features, anyone can start making stunning videos quickly. This means more people can share their stories, ideas, and creativity with the world.
10 Essential Video Editing Tips for Beginners
Starting your video editing journey can feel overwhelming, but you’ll see progress quickly with the right tips and tools. Here, we break down ten essential tips to help you get started and edit like a pro.
1. Organize Your Media for a Smooth Workflow

Another tip is to rename your files with clear, descriptive labels. Instead of leaving them as generic “Clip001” or “AudioTrack01,” rename them to something like “Interview_John” or “BackgroundMusic_Jazz.” This simple step can significantly enhance your efficiency.
To further streamline your process, consider using a dual monitor setup if you can. This allows you to view your timeline on one screen while previewing your footage on the other, making it easier to manage and edit your content seamlessly.
Now, let’s talk about backups. To safeguard your hard work, follow the 3-2-1 rule for backups. This involves storing three copies of your data on two different media types, with one copy off-site. This strategy protects you from unexpected data loss.
2. Master Basic Cuts and Transitions

Understanding basic cuts and transitions is fundamental to becoming a proficient video editor. They are the building blocks of storytelling in video. Here’s a quick rundown of the most important ones:
- Jump Cuts: These are quick cuts that push the narrative forward by skipping over unnecessary parts. They can create a sense of urgency or abrupt change.
- J Cuts and L Cuts: These are essential for creating a seamless audio and visual flow. A J Cut allows you to hear the audio before you see the video clip, while an L Cut lets the audio continue into the next clip. These are great for maintaining continuity in dialogues and scenes.
- Montage: This technique involves piecing together many short clips to showcase a passage of time or a series of events. Think of training sequences or travel highlights.
- Cutting on Action: This involves cutting from one shot to another while the subject is in motion. It keeps the action fluid and engaging.
- Match Cut: This cut connects two clips with similar compositions or movements to create a visual continuity. It’s very effective for creative transitions and storytelling.
- Cutaways: These are shots that take the audience away from the main action, providing additional context or details about the environment or reactions.
Now, with Animotica, executing these cuts and transitions becomes significantly easier. The intuitive drag-and-drop interface means you can experiment with different techniques without getting bogged down by complex processes. Animotica’s built-in effects and simple timeline editing tools help you apply these cuts precisely, ensuring your story flows smoothly. For more info, check out this guide on adding transitions.
3. Pay Attention to Timing

Timing is everything in video editing. Good timing can turn a series of clips into a cohesive story, while poor timing can lead to confusion or disengagement. When editing your footage, it’s essential to cut clips at the right moments to maintain the flow and pacing. For example, cutting too early or too late can make a scene feel rushed or draggy.
One key tip is to pay close attention to your subject’s movement and expressions. Align your cuts with natural pauses in dialogue or action to create a seamless visual narrative. Additionally, practicing the principle of rhythm is crucial. This rhythm, based on the genre of your content, can keep your audience engaged from start to finish.
Transitions also play a significant role in timing. Avoid overusing flashy transitions, as they can be distracting. Simple cuts, fade-ins, or fade-outs often work best, maintaining fluidity without drawing attention away from the content itself.
To help you perfect timing in your edits, Animotica offers intuitive tools that make it easy to trim, split, and align clips precisely. Its user-friendly timeline lets you preview your work and make adjustments effortlessly, ensuring your edits hit the mark every time. With practice, you’ll develop an instinct for timing that will significantly enhance your video’s impact.
4. Enhance Video Quality with Color Correction

Color correction is a powerful tool to make your footage look more vibrant and professional. It helps balance colors, enhance contrasts, and set the overall mood of your video. The process might seem daunting for beginners, but with practice, you’ll start to see the significant difference it can make to your projects.
The first step is to adjust the white balance to ensure that colors appear natural. You can do this by selecting a point in your video that should be white.
Next, you’ll want to tweak the exposure and contrast. Increasing exposure can brighten up a dark video while adjusting contrast will help differentiate the subject from the background. Animotica offers sliders for these adjustments, giving you precise control without overwhelming you with too many options.
Color grading goes one step further by adding a unique look and feel to your video. Whether you’re aiming for a cinematic style or a particular emotional tone, color grading can help you achieve it. Experiment with different LUTs (Look-Up Tables) to achieve desired results. For a detailed guide, check out this guide on using 3D LUTs
Remember, subtlety is key. Over-correcting colors can make your video look unnatural. Use these tools sparingly at first, and gradually find the balance that works best for you.
5. Add Music

Adding a music track to your video can enhance its emotional impact and storytelling. Music sets the tone, builds atmosphere, and influences how your audience perceives your content. But remember, not just any music will do; choosing the right track is crucial.
Here’s how you can make the most out of adding music to your project:
- Choose Royalty-Free Music: It’s important to select either royalty-free or properly licensed music to avoid any legal issues. There are numerous websites where you can find high-quality, royalty-free music that fits different moods and genres.
- Match the Mood: Ensure the music complements the overall feel of your video. A high-energy track is perfect for an action-packed montage, while a softer melody might better suit a reflective or emotional scene.
- Use Split Edits: Consider using J-cuts or L-cuts to blend your music track smoothly with the transition of scenes. This technique helps in maintaining a seamless audio-visual flow.
Integrating music into your video is incredibly straightforward using Animotica. With its drag-and-drop interface, you can easily import your chosen track. Animotica’s royalty-free music library is a bonus, offering diverse tracks to complement your projects. For more detailed guidance, check out this step-by-step tutorial on adding audio to your videos.
By carefully selecting and skillfully integrating music, you can elevate your video from good to unforgettable.
6. Add Text Overlays Creatively

Text overlays can significantly enhance your video by providing additional context, highlighting key points, or adding a touch of creativity. To effectively incorporate text overlays, follow these tips:
- Match the Style: Align the font style, color, and size with the overall aesthetics of your video. Animotica offers a variety of customizable text styles, ensuring your overlays blend seamlessly with your footage. For more tips, check out our guide on adding text to videos.
- Keep It Readable: Avoid overly ornate fonts or colors that clash with the background. Maintain readability by using simple fonts and high-contrast colors.
- Placement Matters: Position your text where it won’t obstruct essential visuals. Animotica’s drag-and-drop feature makes it easy to place text accurately and effectively.
- Animate for Impact: Use subtle animations to make your text more engaging. Animotica allows you to apply various entrance and exit animations that can make your messages pop. Learn more about this in our guide on adding animated texts.
Text overlays can also serve practical purposes, such as adding captions for accessibility or subtitles for multilingual audiences.
7. Incorporate Effects and Motion Graphics

Incorporating effects and motion graphics can add that “wow” factor to your videos, making them more engaging and visually appealing. Effects can range from a crossfade transition to more complex animation sequences. Motion graphics, like animated text or dynamic backgrounds, can give your video a polished, professional look.
- Start Simple: If you’re new to video editing, start with basic effects and gradually move towards more complex ones as you become more comfortable. Animotica offers a variety of built-in special effects that are easy to apply using its drag-and-drop interface. You don’t need to be a professional animator to make your video stand out.
- Layering and Compositing: Combining multiple video clips and graphics layers can create compelling scenes. Animotica allows you to effortlessly overlay images and videos, adjust their opacity, and add border effects to create visually rich compositions.
Just please don’t overdo it. The goal is to enhance your video, not distract from the main message. Start by adding just one or two effects or motion graphics elements and see how they complement your content. You can always add more as you become more confident in your skills.
With Animotica, incorporating effects and motion graphics is as straightforward as it gets. Its user-friendly interface allows even beginners to apply professional-caliber enhancements without the steep learning curve associated with more advanced software. So, experiment with different effects and see what works best for your videos! Check out these additional guides on adding a glitch effect and an old TV effect to your videos for more creative inspiration.
8. Use B-Roll Effectively

B-roll footage is supplemental or alternative footage that intercuts with the main shots (A-roll). It adds depth and context to your story, making your video more engaging. For example, if you’re editing an interview, a B-roll could include shots of the interviewee at work, relevant objects, or scenes that illustrate their points.
To use a B-roll effectively, ensure that it complements your primary footage. Avoid random or unrelated clips, as they distract the viewer and disrupt the flow. Instead, strategically place B-roll clips to cover cuts, provide visual interest, or reinforce the narrative. This technique makes your video smoother and keeps the audience engaged.
Remember, incorporating a B-roll isn’t just about filling gaps. It should serve a purpose, whether enhancing the storyline, providing necessary visual context, or adding texture to the video. Properly used, a B-roll can elevate the professionalism and attractiveness of your project.
9. Export Settings Matter

Once you’ve edited your video, exporting it correctly is crucial to maintain quality and compatibility. Choosing the right export settings can significantly impact the final product and viewer experience.
Select the appropriate resolution based on your platform. For YouTube, aim for 3840p (4K) or 1080p (HD), using the H.265 codec for efficient compression and the AAC-LC audio codec for optimal sound.
Platforms like Facebook recommend a maximum resolution of 720p for quicker loading times. Vimeo suggests 1080p with the H.264 codec to keep your videos sharp.
Bitrate is essential: for YouTube, aim for 8mbps for HD and up to 45mbps for 4K. Proper bit rate settings can improve streaming quality and reduce buffering times. For more details, check out our guide on the best export settings for YouTube.
Animotica simplifies this process by offering preset options tailored for popular platforms. Just select the desired platform, and Animotica will optimize the settings for you, ensuring your video looks its best.
Common export formats include .mp4, .mov, and .wmv. Animotica provides a range of options, allowing you to pick the best format for your needs.
Consider your device’s computing power. Using a fast SSD can speed up rendering and export times, making your workflow more efficient.
10. Practice and Learn Continuously

The video editing journey doesn’t end once you’ve learned the basics; in fact, that’s just the beginning. Practicing regularly and seeking new learning opportunities is vital to truly hone your craft.
Watch tutorials from platforms like YouTube and Udemy. These offer a plethora of courses and step-by-step guides for beginners. Additionally, consider visiting Mixilab’s and Animotica’s blogs, which provide valuable insights into video editing, marketing, and content creation. These resources are tailored to help you develop your skills effectively and efficiently.
Remember the importance of maintaining an efficient workflow and keeping your files organized—this will save you a lot of time and headaches as you edit. The 321 Rule is a great practice: keep three copies of all your files in two locations, with one copy physically separated. This prevents data loss and ensures your projects are always safe.
As you continue to practice and refine your skills, you’ll notice improvements in handling timing, cuts, transitions, and the overall flow of your videos. The key is consistency—make a habit of editing regularly and always strive to learn something new.
Lastly, engage with the editing community. Share your work, seek feedback, and stay updated with the latest trends and techniques. Forums, social media groups, and even comment sections on tutorial videos are great places to connect with other editors. Through continuous practice and learning, you’ll hone your craft and create stunning videos that captivate your audience.
What is the Best Video Editor for Beginners?
While there are numerous video editing tools available, selecting the best one can be daunting, especially for beginners. The ideal software should balance ease of use with powerful features, helping you create professional-looking videos without an overwhelming learning curve.
For newcomers, Animotica stands out as an exceptional choice. This user-friendly video editor for Windows caters specifically to beginners, offering an intuitive interface that simplifies the editing process. With its drag-and-drop functionality, you can effortlessly add clips, transitions, and effects, streamlining your workflow.
Why Choose Animotica?
- Simplicity: Animotica’s interface is designed to be accessible, making it easy to navigate even if you’re new to video editing.
- Essential Features: Animotica covers all the tools you’ll need to create stunning videos, from basic cuts and transitions to color correction and audio balancing.
- Creative Tools: Easily add text overlays, effects, and motion graphics to enhance your videos and make them stand out.
- Lots of Tutorials: Animotica offers helpful tutorials directly within the software, ensuring you have guidance at every step.
- Easy Export Options: Quickly export your videos in various formats optimized for social media, making sharing your creations with the world simple.

By incorporating Animotica into your video editing journey, you’ll find the process manageable and enjoyable. Its straightforward approach to video editing empowers you to focus on unleashing your creativity rather than getting bogged down by technical complexities.
Ultimately, whether you’re creating content for YouTube, social media, or personal projects, Animotica provides all the tools you need to produce high-quality videos that capture your vision.
Ready to get started? Download Animotica today and transform your video editing experience.
Final Thoughts
As you embark on your video editing journey, remember that practice and patience are your best allies. Integrating the tips we’ve discussed—from organizing your media to mastering basic cuts, adding creative flair, and ensuring top-notch export settings—can significantly elevate the quality of your projects.
Animotica — a fantastic tool for beginners. It offers an intuitive interface and powerful features like drag-and-drop editing, built-in effects, and easy export options. Using Animotica, you can simplify the editing process and quickly produce professional-looking videos.
Don’t hesitate to download Animotica and start applying these tips today. With each project, you’ll build confidence and refine your skills, easily bringing your creative visions to life. Happy editing!