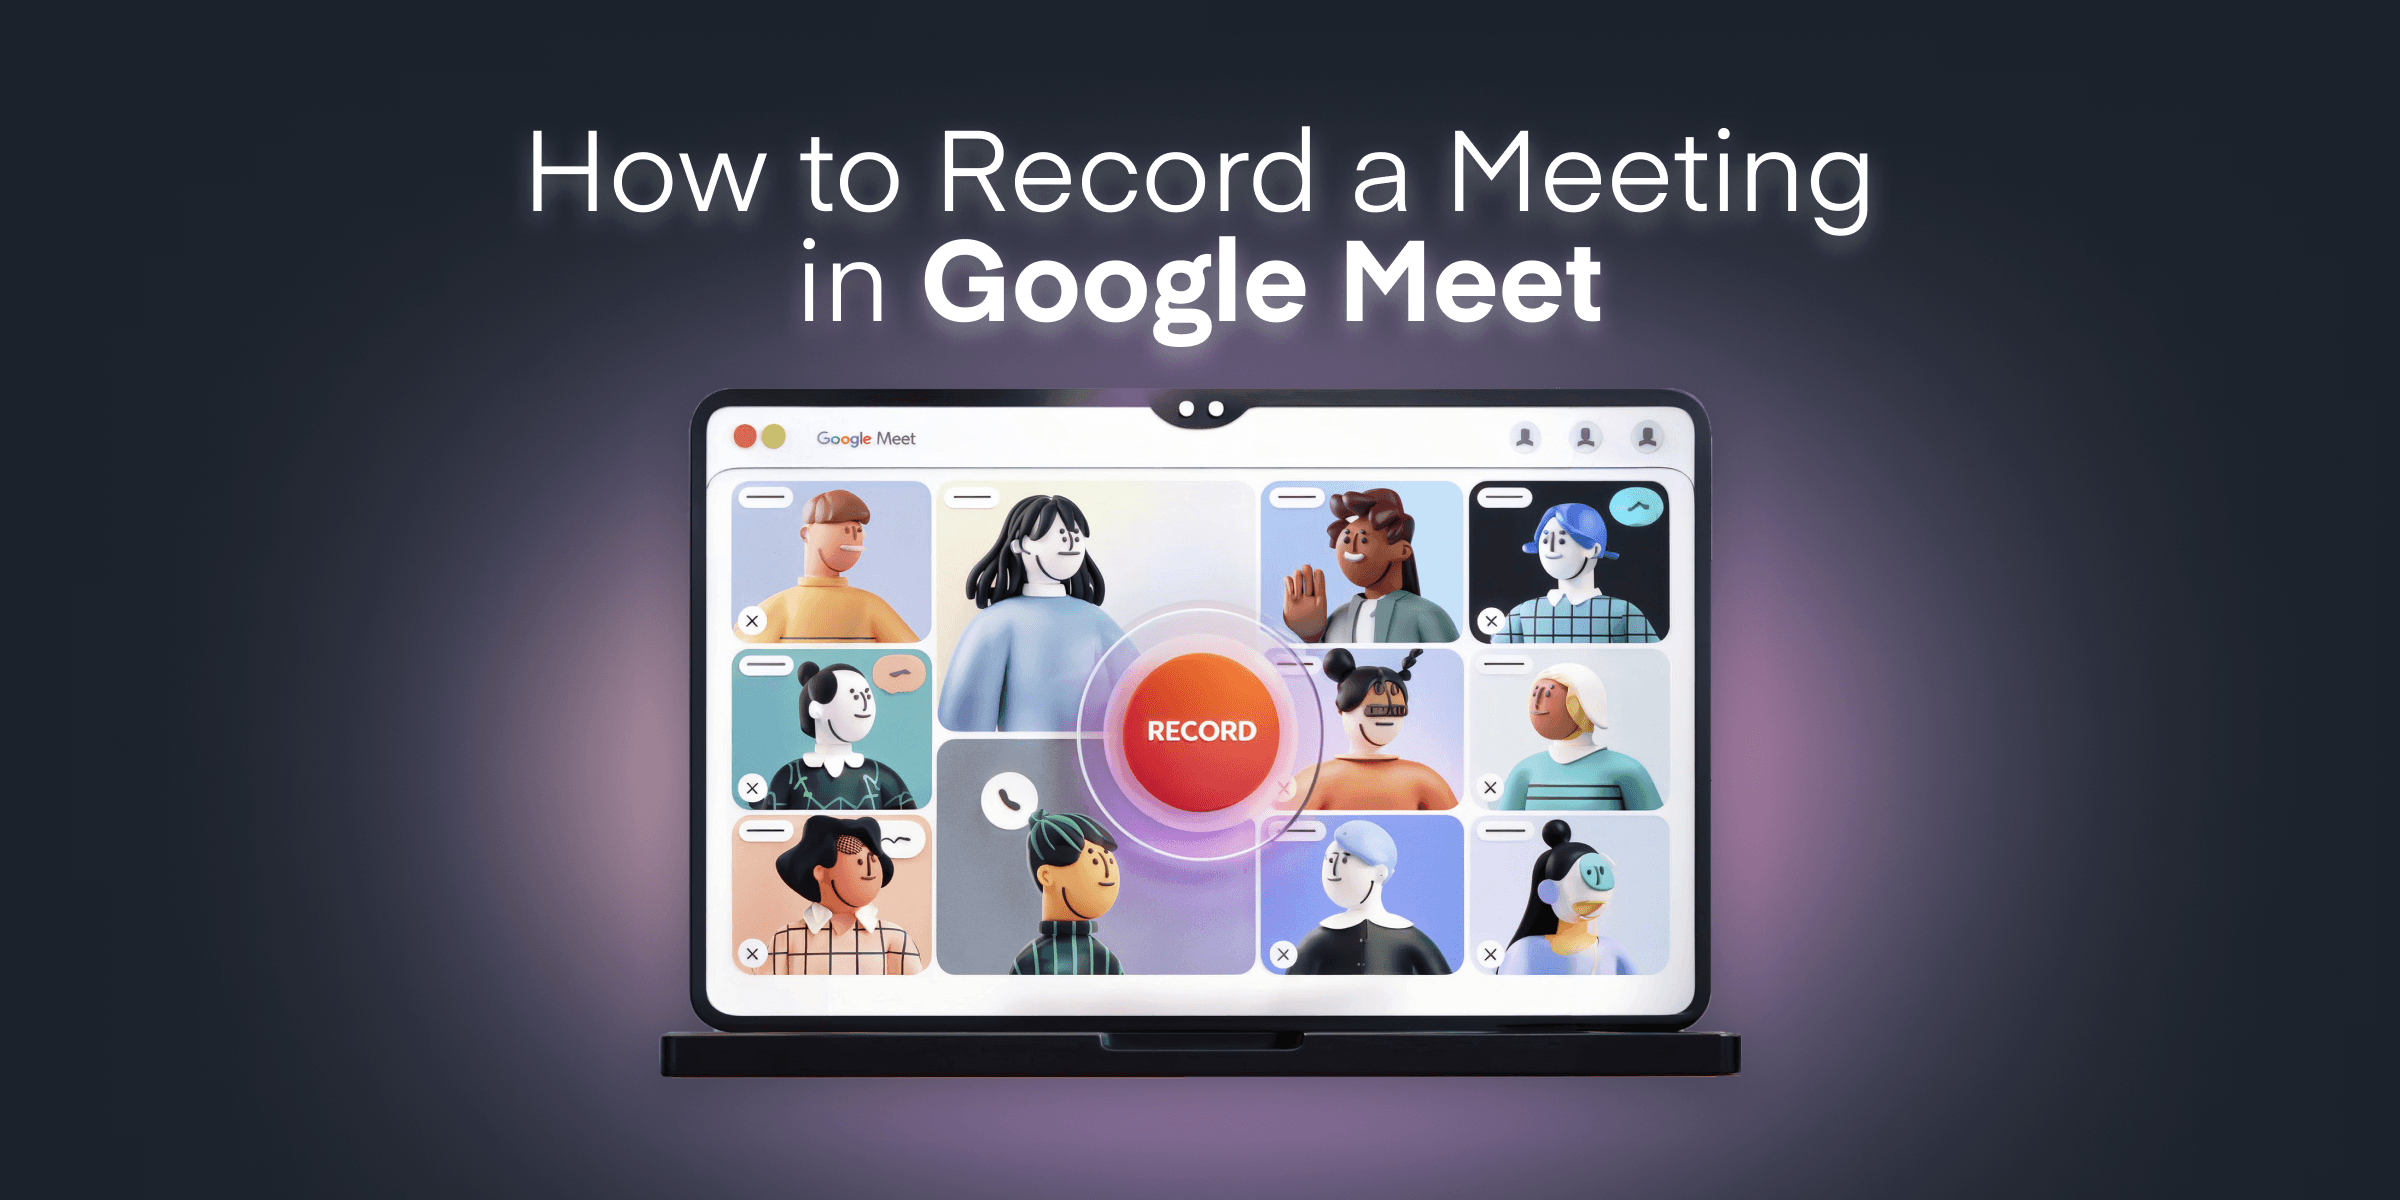
In today’s fast-paced world, virtual meetings have become the norm rather than the exception. Whether you’re attending an important business conference, a casual catch-up with friends, or an educational seminar, the ability to record these Google Meet calls can be incredibly valuable. However, knowing how to effectively capture these moments isn’t always straightforward. That’s where we come in.
Here’s what you can expect to learn from this article:
- How to use Google Meet’s native recording feature, if it’s available for your account.
- Alternative solutions for recording Google Meet calls when the built-in feature isn’t accessible.
- A detailed walkthrough on using ScreenMix to record your Google Meet calls effectively and effortlessly.
- Best practices to ensure high-quality recordings.
- Answers to frequently asked questions about Google Meet recordings.
Each section is designed to be easy to follow, ensuring that you’ll find a suitable recording method no matter your technical skill level. So, whether you’re new to recording or looking for a better solution, this guide has you covered.
Let’s start with the basics and work our way to the advanced ones so you can choose the method that suits you best.
Contents
How to Record Google Meet Calls Using Built-In Recording Feature
Google Meet offers a native recording feature, but it’s essential to know this option is available based on your Google Workspace plan. Users with access to Google Workspace for Education, Business Standard, Business Plus, Enterprise Essentials, and Enterprise Standard or Plus will likely have this feature enabled. Note that the recording option might not be available for personal accounts or certain workspace tiers.
Here’s a step-by-step guide on how to record your Google Meet calls using the built-in recording feature:
- Start or Join a Meeting: Click “New meeting” or join an existing one using your meeting link.
- Check Recording Permissions: Ensure you have the necessary permissions to record. Typically, only the meeting host or individuals from the same organization can record.
- Open Meeting Controls: Once in the meeting, click on the three vertical dots in the bottom-right corner to open the meeting menu.
- Start the Recording: Select “Start recording” from the menu options. A pop-up will appear, asking you to confirm that everyone in the meeting consents to the recording. Once confirmed, click ” Start.”
- Stop the Recording: To end the recording, return to the meeting controls, click the three vertical dots again, and select “Stop recording.” A confirmation message might appear; click “Stop recording” to finalize.
Once the recording is stopped, Google Meet will automatically process the video file and save it to the meeting organizer’s Google Drive in a folder labeled “Meet Recordings.” The meeting organizer will receive an email notification when the recording is available; they can then share the video via a direct link or email or by downloading it for other uses.
If you’re using a mobile device, note that the built-in recording option might not be supported. Desktop or laptop computers offer the most control and functionality for recording Google Meet sessions using native features.
While the built-in recording feature is convenient, it’s only available to a subset of users and might lack more advanced features. For those requiring more flexibility or additional options, the following section explores third-party solutions to record Google Meet calls.
How to Record Google Meet Calls Using Third-Party Software
You might find that Google Meet’s built-in recording feature isn’t available to you due to account restrictions or other limitations. In such cases, using third-party software offers an excellent alternative. Today, we’ll focus on ScreenMix—a versatile screen recording tool designed for Windows that provides additional flexibility and features for recording your Google Meet calls.
Step-by-Step Guide to Recording Google Meet Calls with ScreenMix:
- Download and Install ScreenMix: If you haven’t done so already, download ScreenMix for free. The installation process is straightforward and should only take a few minutes.

- Launch ScreenMix: Open the application and familiarize yourself with the user interface. ScreenMix is designed to be user-friendly, ensuring that even those new to screen recording can easily navigate it.
- Select Recording Area: Choose the area of your screen you’d like to record. You’ll want to select the browser window where your meeting will occur for Google Meet. You can either record the full screen or customize the recording area to fit just the meeting window.

- Enable Audio and Microphone: Ensure that both system audio and your microphone are selected. This way, your recordings will capture the voices of all participants and your input. In ScreenMix, these options are easily accessed through the Microphone and Speaker settings.


- Start Recording: Once you’re set up, click the Start Recording button. ScreenMix will begin capturing your screen, audio, and microphone input. You’ll see indicators that confirm the recording is in progress.

- Manage Your Recording: You can stop, pause, and resume as needed during the recording.

- Review and Edit Your Recording (Optional): You can review your recording directly within ScreenMix. For advanced editing options, ScreenMix integrates seamlessly with Animotica. With Animotica, you can trim footage, add music, apply special effects, or insert text and other overlays. To access these features, download Animotica for free and enhance your recordings effortlessly.


ScreenMix ensures that your meetings are recorded and provides enhanced features such as high-quality video, easy editing with Animotica, and flexible recording options that make it stand out from basic built-in tools.
Ready to try it? Download ScreenMix today and experience hassle-free, high-quality recording for all your Google Meet sessions!
How to Download Google Meet Using Xbox Game Bar
Using the Xbox Game Bar, you can record Google Meet calls seamlessly. This powerful tool comes pre-installed on Windows 10 and provides all the essential features to capture high-quality video and audio from your screen. Follow these straightforward steps to set up and use the Xbox Game Bar for recording your Google Meet meetings:
- Launch the Xbox Game Bar: Press the Windows logo key + G on your keyboard. This action will open the Xbox Game Bar overlay on your screen.
- Open the Google Meet Call: Start or join the Google Meet meeting you wish to record. Ensure the meeting window is active and focused.
- Initiate Recording: In the Xbox Game Bar, click on the Capture widget, which appears as a camera icon. From there, click the Start Recording button (a circle icon) to capture your current screen activity.
- Monitor Your Recording: A small recording status window shows the elapsed recording time. You can also mute or adjust the volume of your microphone if needed.
- Stop the Recording: Once you have finished recording the Google Meet meeting, click on the Stop Recording button in the Capture Status window or press the Windows logo key + Alt + R to halt the recording process.
- Locate Your Recording: The video file will be saved automatically in your Videos folder under Captures. You can access it there for review, editing, or sharing purposes.
This method is convenient for Windows users who need a quick and native solution to record their Google Meet sessions. The Xbox Game Bar is an excellent tool for this task, ensuring you capture every crucial detail of your meetings without additional software.
Best Practices for Recording Google Meet Calls
Recording your Google Meet calls can be immensely beneficial, but there are some best practices to ensure that your recordings are clear, comprehensive, and useful for future reference. Here are some key tips to keep in mind:
1. Ensure Everyone is Informed
Before you hit the record button, it’s crucial to let all participants know that the meeting will be recorded. This isn’t just about courtesy; it’s also a legal requirement in many regions. Informing your attendees ensures transparency and consent, fostering a respectful virtual environment.
You can mention your intention to record at the beginning of the meeting or send a quick message in the chat. Here’s a simple way to do it:
“Hi everyone, I wanted to let you know that I will be recording this meeting for future reference. Please let me know if anyone has concerns about this.”
This approach keeps you compliant with legal standards and shows your consideration for participants’ privacy and comfort.
2. Optimize Your Setup
An optimized setup ensures that your recorded Google Meet calls are clear, professional, and effective. Here’s how you can achieve this:
- Check Your Internet Connection: A stable and robust internet connection is vital. Ensure you have a reliable Wi-Fi connection, or consider using a wired connection to avoid interruptions during recording.
- Adjust Your Lighting: Proper lighting enhances video quality. Face a natural light source or use artificial lights to ensure your face is well-lit without harsh shadows.
- Position Your Camera Correctly: For a professional appearance, place your webcam at eye level. This helps maintain eye contact and makes you look more engaged.
- Test Your Audio: Use a quality microphone for clear sound. Test your audio setup before starting your Google Meet call to ensure your voice is heard clearly without background noise.
- Clean Up Your Background: A clutter-free background minimizes distractions. Consider using a virtual background or a plain wall to keep the focus on you.
- Close Unnecessary Applications: Closing unused applications can prevent your computer from slowing down, ensuring a smoother recording experience.
- Prepare Your Materials: Have your documents, presentations, and other materials ready and easily accessible. This will help you stay organized and focused throughout the meeting.
By optimizing your setup, you enhance the overall quality of your recorded Google Meet calls, making the content more effective and engaging for later reference.
3. Use the Right Tools
Having the right tools is crucial for high-quality Google Meet recordings. While Google Meet’s built-in recording option is handy, it may not be available to everyone, especially non-Google Workspace users. Third-party solutions like ScreenMix offer enhanced functionality and flexibility.
ScreenMix: An all-in-one screen recorder for Windows, ScreenMix makes recording easy. It effortlessly captures video, audio, and screen activity. Its user-friendly interface suits all technical levels, ensuring a smooth recording experience for personal, professional, or educational purposes.
QuickTime Player is a good alternative for macOS users, while Windows users can utilize the built-in Xbox Game Bar. To do so, use the shortcuts Windows logo key + G for Xbox Game Bar and Shift + Command + 5 for QuickTime Player.
It’s essential to familiarize yourself with the tool’s settings and functionalities to avoid technical issues during your Google Meet call. Each tool has its strengths; ScreenMix, for example, offers superior editing features and supports various export formats, making it ideal for both simple and advanced recordings.
4. Focus on Key Content
When recording your Google Meet calls, focus on the crucial parts of the discussion. Identify key points and objectives, such as brainstorming sessions, updates, or training. This will make your recordings more effective.
Visual aids like screen sharing or whiteboards can highlight critical information and engage participants. With ScreenMix, you can quickly toggle between these features for a coherent recording.
If you lead the meeting, guide discussions to key topics and summarize points. This helps viewers follow along and locate specific information. If you’re attending, use timestamp features to mark key moments for easy reference.
Focusing on essential content creates valuable resources for future use and streamlines the editing process. Quality over quantity is key; a well-focused recording is more impactful.
5. Manage Background Noise
Background noise can be a significant distraction during your Google Meet recordings, but there are proven strategies to manage it effectively. Start by choosing a quiet location for your meeting to minimize ambient sound. If possible, inform household members or colleagues in advance to avoid interruptions. Additionally, using a high-quality microphone with noise-canceling features can significantly reduce unwanted sounds, ensuring clearer audio for your recording.
Another useful practice is to mute your microphone when you’re not speaking. This simple step can prevent background noises like keyboard typing, clicking, or shuffling papers from being captured in your recording. Encourage other participants to do the same to maintain a professional and focused environment.
6. Edit and Share Wisely
Once your Google Meet recording is complete, the next step is editing to ensure clarity and professionalism. Though you can’t edit within the platform, several external tools are available.
Editing the Recording: Use video editing software like Animotica to trim, adjust audio, add text, and more. Import your recording into Animotica and remove any glitches or irrelevant content to keep it focused.
Sharing the Recording: After editing, share your recording via direct links, email, or messaging apps. Upload the edited video to Google Drive and share the link, or email the file directly, setting appropriate sharing permissions to control access.
Tips for Optimal Editing and Sharing:
- Keep It Concise: Edit out unnecessary sections to maintain engagement.
- High-Quality Audio: Ensure clear audio that is free of background noise.
- Highlight Key Points: Use text overlays to emphasize essential information.
- Test Before Sharing: Preview to confirm it meets expectations.
- Access Control: Restrict access to authorized viewers.
Editing and thoughtfully sharing your Google Meet recordings can transform them into valuable resources for personal reference, professional training, or educational purposes.
7. Store Recordings Securely
Storing your Google Meet recordings securely is crucial. Organize recordings in clearly labeled folders within your Google Drive or another cloud storage solution to prevent accidental deletions.
For enhanced security, consider cloud storage with advanced encryption features and use Zapier to automate backups to multiple locations, adding redundancy.
Manage access permissions diligently, limiting capabilities only to those who need it, and use shared links with expiration dates.
Lastly, stay aware of organizational data retention policies and legal requirements for storing and sharing video content to ensure compliance and protect your recordings.
Final Thoughts
Recording your Google Meet calls can significantly enhance your ability to revisit important discussions, create educational content, or keep accurate records of professional meetings. Whether you’re using Google Meet’s built-in recording feature, a third-party solution, or the versatile ScreenMix, you’ll find a method that fits your needs.
We’ve walked you through the built-in recording feature, which is straightforward but may have limitations based on your Google Workspace account. When the native option isn’t available, third-party tools offer excellent alternatives. ScreenMix stands out with its user-friendly interface, advanced recording features, and reliable performance.
Additionally, tools like the Xbox Game Bar provide another viable solution for recording Google Meet calls. While it’s primarily designed for gaming, it can efficiently capture meetings and offer flexibility and ease of use.
By following our guides, you’re now equipped with the knowledge to record Google Meet calls effectively and efficiently. Take time to inform all participants, optimize your setup, and focus on essential content for a seamless recording experience. Remember, the right tools, such as ScreenMix, can significantly improve the quality and ease of your recordings.
We strongly encourage you to download ScreenMix today and experience an enhanced, hassle-free Google Meet recording. With its robust features and straightforward interface, ScreenMix is the optimal choice for capturing high-quality video, audio, and screen activity during your meetings.
Thank you for reading, and happy recording!
FAQ About Recording Google Meet Calls
Is it legal to record Google Meet calls?
Recording Google Meet calls can be legally complex, and consent from all participants is essential before recording. Legal requirements vary; some places require one-party consent, while others need all participants’ consent.
In the EU, GDPR mandates explicit participant consent for recording personal data. Organizational policies also often require notifying and obtaining employees’ consent to meet legal and ethical standards.
Google Meet’s native recording feature automatically notifies users, but if you use third-party tools, you must inform participants and get their consent. When in doubt, consult a legal professional familiar with local laws.
Are there any limitations to Google Meet’s native recording feature?
Yes, there are several limitations to Google Meet’s native recording feature:
- Available only to certain Google Workspace users, such as those with Business Standard, Business Plus, Enterprise, Education Plus, Workspace Individual Subscriber accounts, or Google One subscribers with 2 TB or more storage space.
- Typically restricted to meeting hosts or co-hosts.
- Cannot record meetings in breakout rooms.
- Maximum recording duration is eight hours.
- Recordings cannot be edited directly within Google Meet.
- Overall quality depends on participants’ audio and video quality.
- Requires enabling from Google Workspace admin through the Google Admin console.
What settings should I adjust for the best recording quality in Google Meet?
To ensure you are getting the best recording quality in Google Meet, there are a few critical settings and practices you should fine-tune:
- Check Your Resolution: Ensure your camera resolution is set to the highest possible setting. Higher resolution will significantly enhance the clarity of your video recordings.
- Adjust Lighting: Good lighting is key to high-quality video. Make sure you are well-lit from the front and avoid strong backlighting, which can obscure your face.
- Test Audio Settings: Use a high-quality microphone and test your audio settings to avoid any distortion or background noise. Headsets often provide better sound quality than built-in laptop microphones.
- Stable Internet Connection: A strong and stable internet connection is necessary to avoid interruptions and ensure smooth video and audio recording. Prefer a wired connection over Wi-Fi for the best results.
- Close Unnecessary Applications: Closing unnecessary apps will free up system resources, ensuring your computer runs smoothly during the recording.